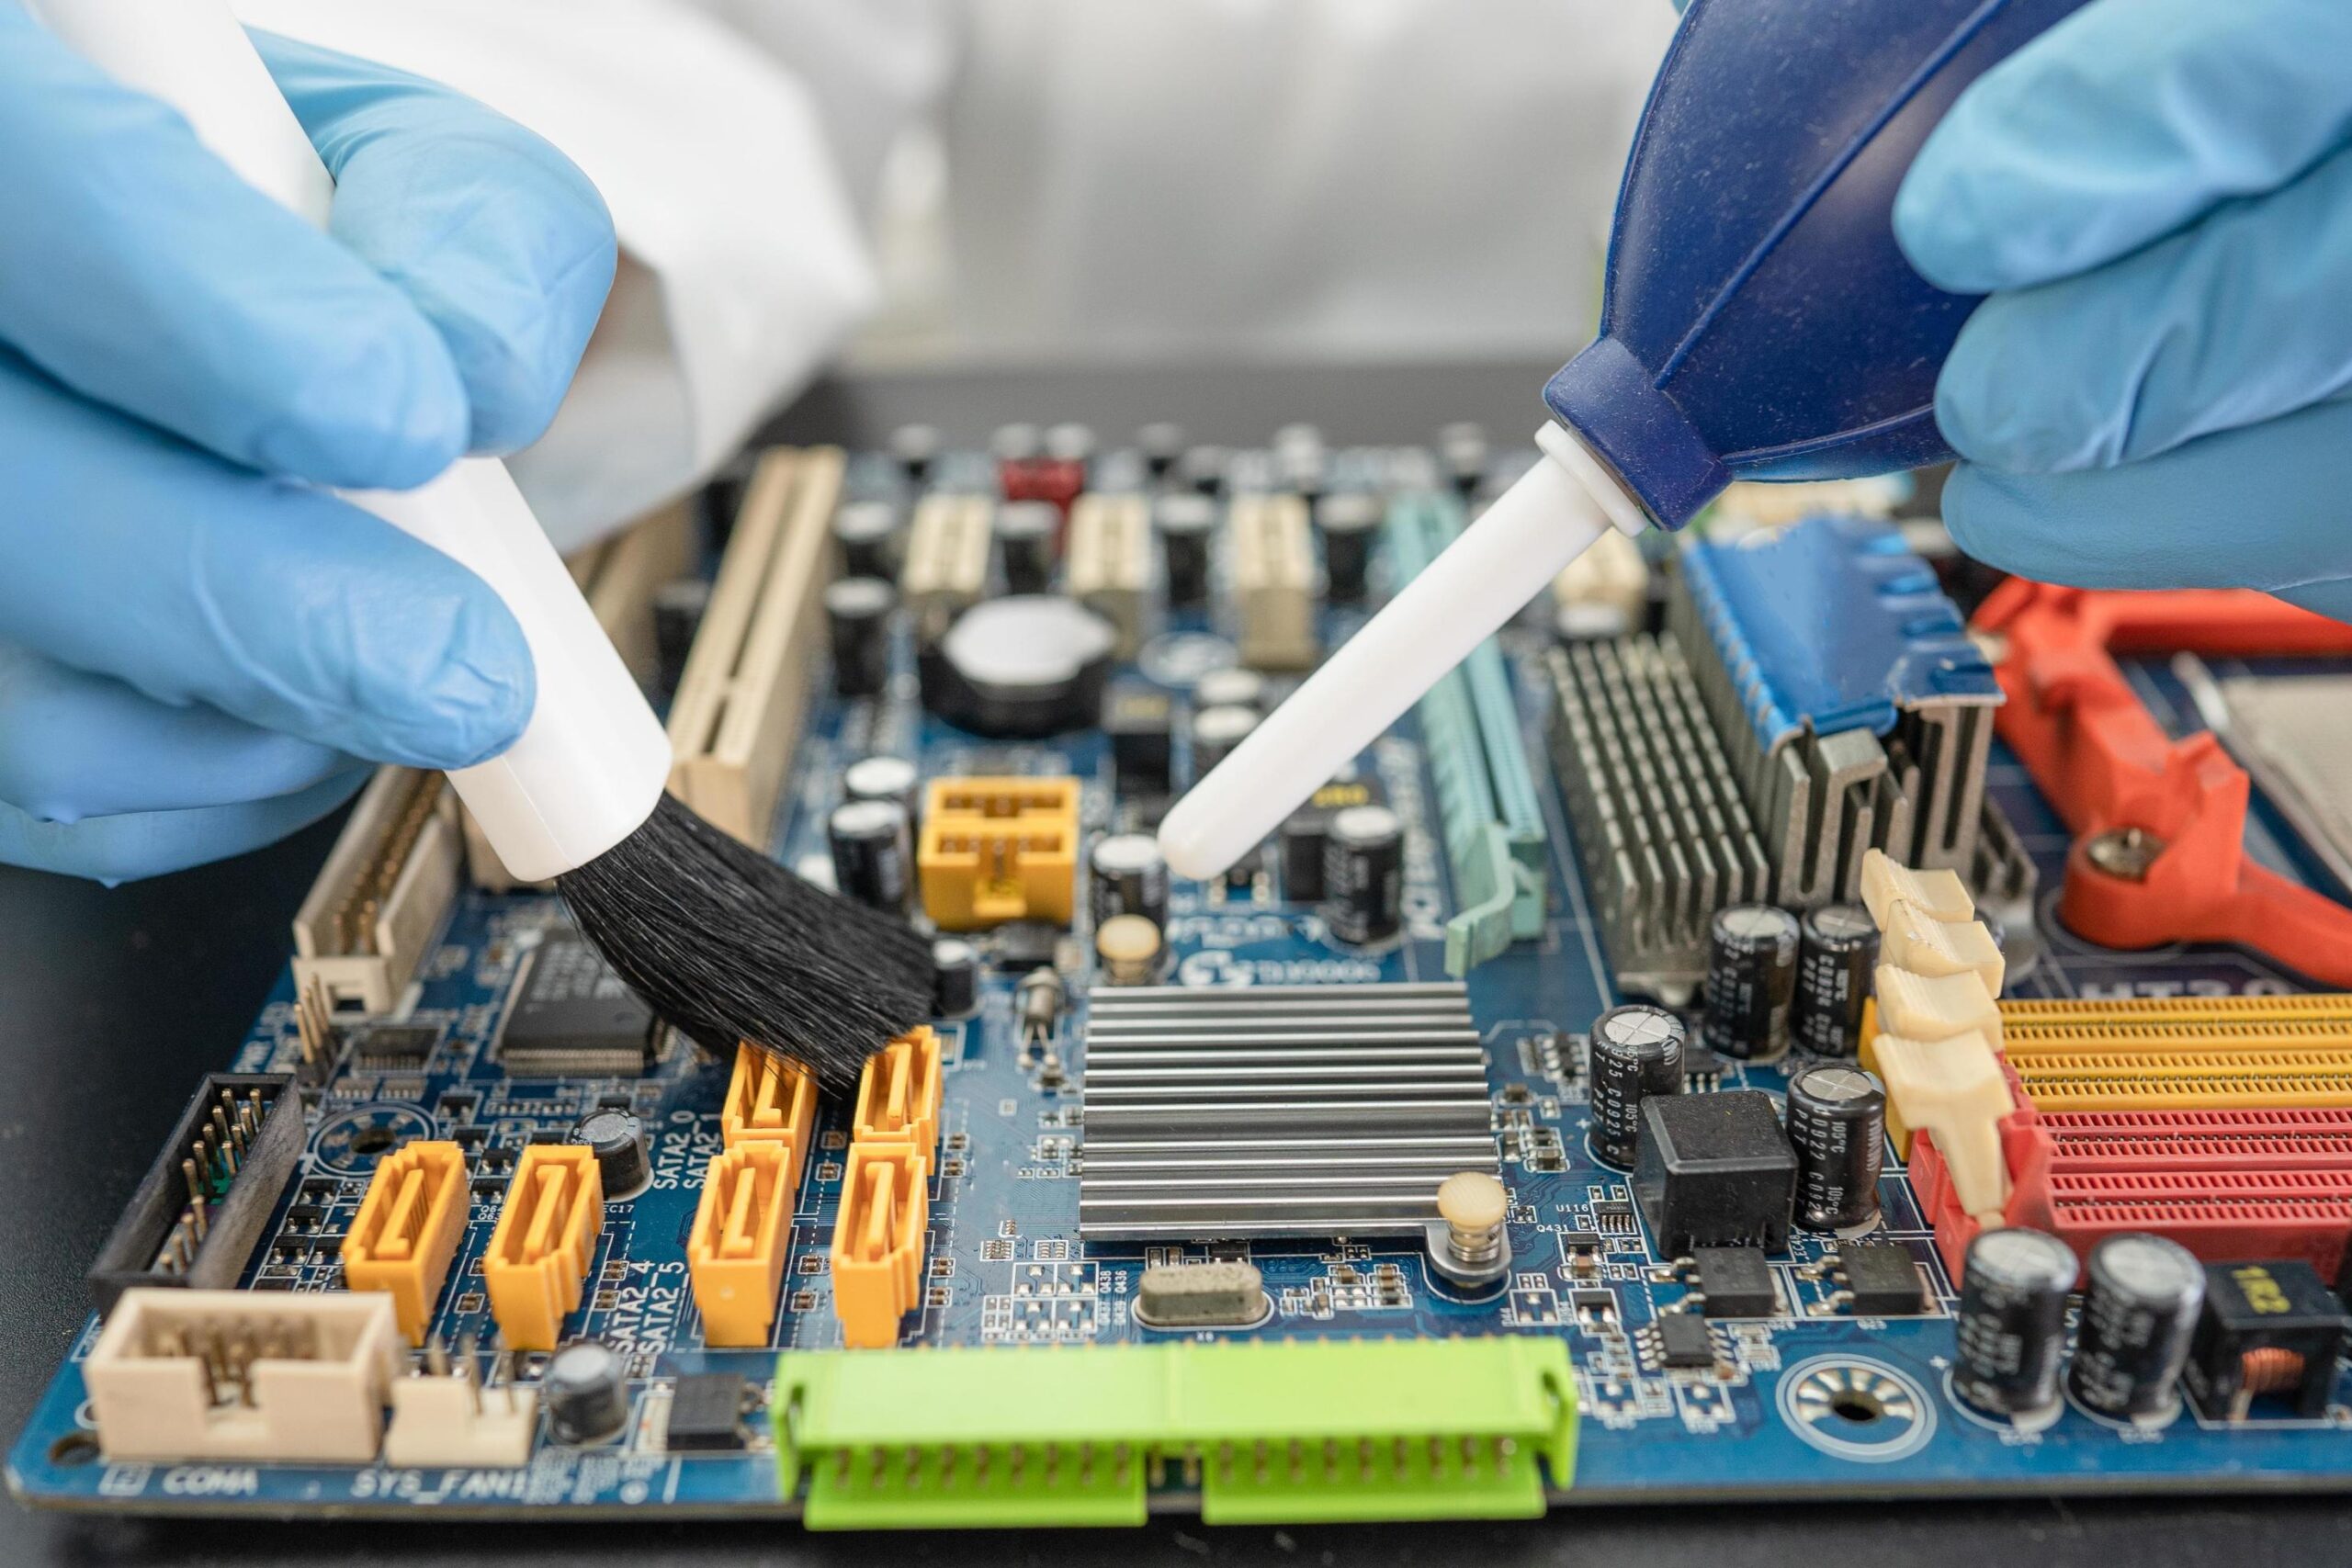
If you’re looking for the proper way to clean motherboard then you’re on the right page. It’s really important to clean it as it gets dusty frequently. It gets a little tricky when we have to remove the spills and sticky substances on it.
I’m going to share some easiest methods to clean the motherboard in your home. So keep scrolling and follow the guidelines properly.
WHAT IS MOTHERBOARD
It’s a good initiative to learn how to do you clean motherboards at home. It is the main circuit board that connects the different parts of a computer altogether, And, it is also called the main board, system board, or baseboard. The motherboard is a very essential part of a computer as it ties the components of the computer together and allows them to talk to each other properly. Without it, the main computer pieces can not interact together, such as the CPU, GPU, or Hard drive.
Learning to clean the motherboard is a very important thing to do because even a small piece of dirt can affect the performance of your computer.
Here are some ways that can help you with the cleaning method
- First of all, remember to turn off your computer before cleaning it.
- Open the case and unscrew the board.
- Use compressed air to blow the dust.
- Use isopropyl alcohol.
- Use cotton or a piece of clothing to swab away the dirt.
- You can also use any soft brush to blow away the dust.
These are the few convenient things you can use in this process of cleaning.
But I also want to mention some useful tips in detail that can help you to know what methods are required that will not destroy your computer motherboard.
TIPS TO CLEAN MOTHERBOARD
As I have mentioned above do turn off your computer before cleaning the motherboard, you have to remove the plug out of the socket or any peripheral devices attached to the unit. Because if there’s any canned air or moisture, it can damage your computer if the components remain connected to the power source during the cleaning process.
- Keep each tool with you while cleaning it.
- You will need a screwdriver.
- A compressed air can
- And a soft motherboard cleaning brush.
- You may also need a cleaning cloth, cotton, scissors, and thermal paste.
You can also use any paintbrush if you have one at your home it can also help in cleaning the dust. The only condition is the brush should be soft because it can damage your components. Be sure that the brushes don’t carry any static electricity.
Similarly, keep in mind that if you are in an enclosed environment, the dirt or dust may settle back on the motherboard so do clean it in a well-ventilated area.
Clean the dust with a brush or compressed air can, if there’s still some dust, dip cotton in isopropyl alcohol and wipe it gently. Also, remember to clean the fans, ports, and other enclosures that may contain hidden particles.
Try not to use a vacuum as it can damage the motherboard and cause static.
Let the motherboard dry completely before reinstalling it. Any moisture left can damage and will ruin all the effort of cleaning the motherboard.
The whole process should be done at least once in 3-6 months. It would be better if you can make this your habit of cleaning the motherboard. As it keeps your PC healthy and ensures that it serves you productively.
By following these methods just be sure you do them accurately, a little mistake can damage your components. Or if you still have any doubts then it’s better to get help from a professional.
CONCLUSION
To clean motherboard is so much easier now, as we have discussed the whole process. The computer plays a major part in our life. So it’s important to learn how to take care of it in a professional way. You just have to keep this in mind, avoid applying liquids as it can void your warranty. Always use soft brushes, clothing, or cotton to clean the dust. I hope it has helped you most efficiently.
Also Read: What are shadow PC known issues, and how to fix them?

